How To Set Up and Use Schedules with the Speakers and Schedule Addon
Last Updated: January 23, 2025
Would you like to allow your site visitors to view your event’s schedule in form of granular time blocks? This addon makes all this possible and allows you to list the start and end times of each slot along with additional information such as the speaker and topic of discussion. With this addon, you will be able to:
- Display collapsible time blocks
- Assign speakers to each block
- Display schedules for each day independently
- Assign block titles for easy grouping
Adding Schedules to Single-day Events
Create a new event by heading to Events > Add Event or edit an existing event on your website.
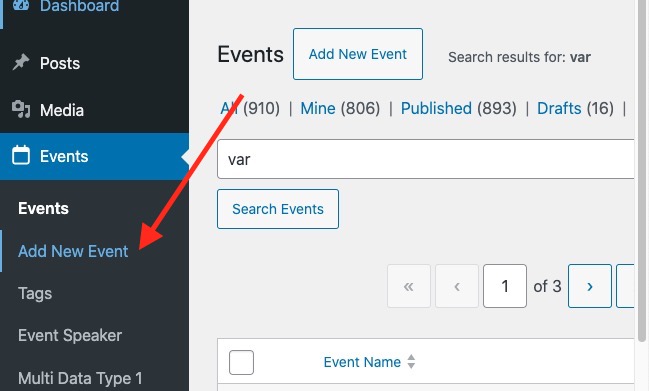
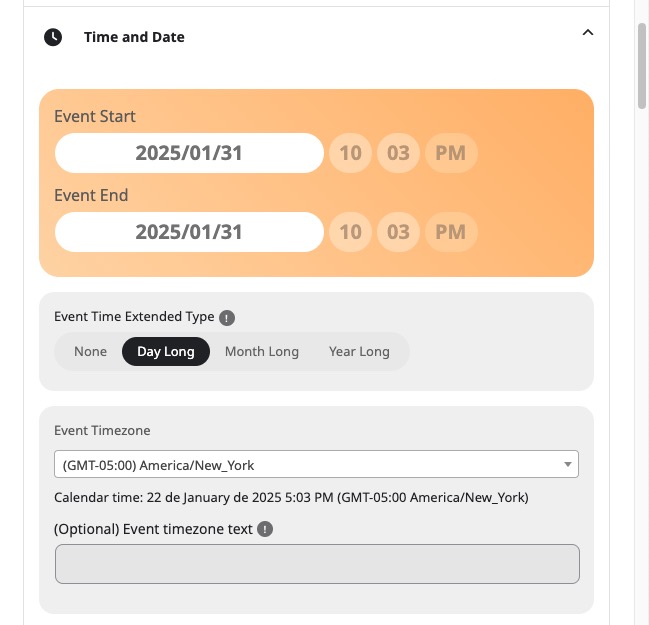
Go to the Time and Date section and enter the date and timezone of your event. On this step, you can toggle other date settings such as hiding the event progress bar, whether to hide end time on the calendar, etc.
Head over to the Event Schedule section and click on this button to expand the accordion section.
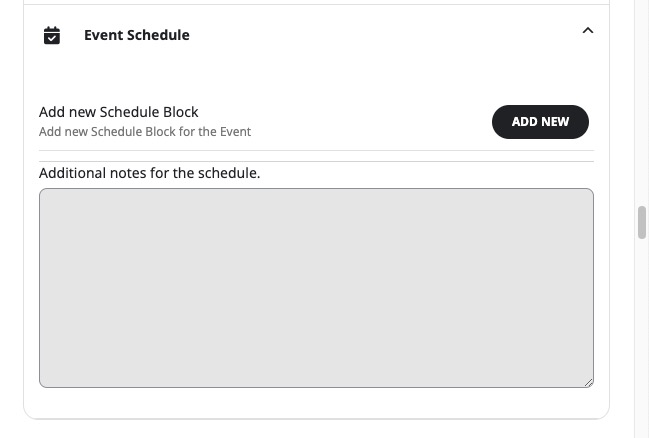
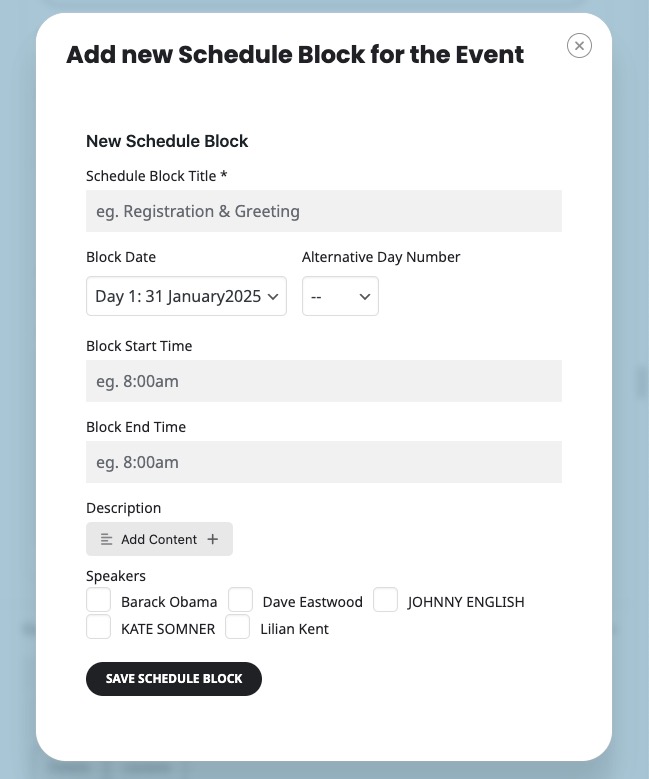
Click on the ADD NEW SCHEDULE BLOCK button to add a new time block for your event. You’ll need to repeat this step for all the time blocks that you want to add to this event.
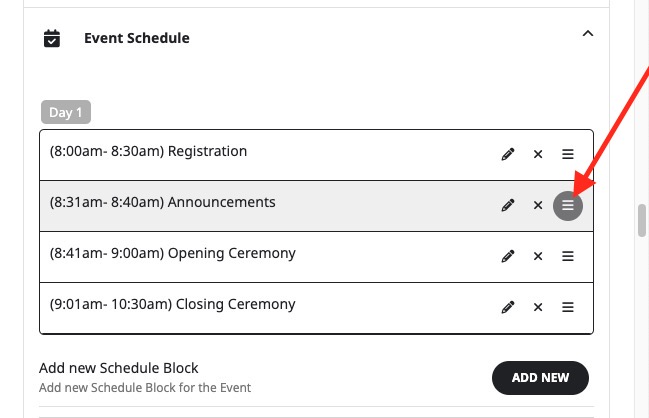
Once you have added all the time blocks, you can also reorder them using drag and drop via the highlighted option below:
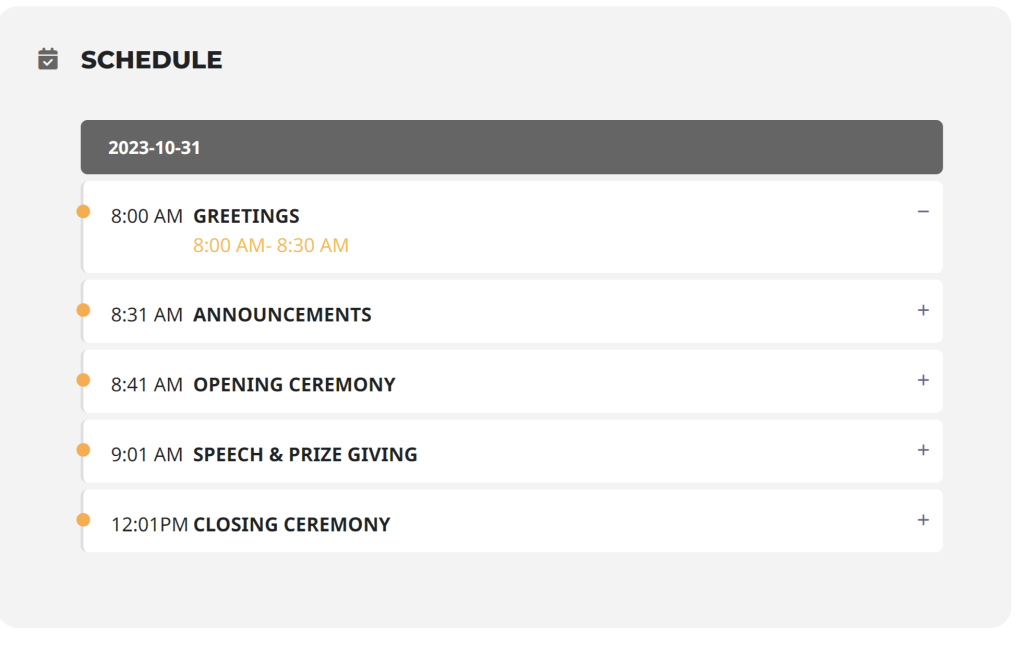
Publish your event and view the result on the front end.
Adding Schedules to Repeating Events
Create a new event by heading to Events > Add Event or edit an existing event on your site.

Go to the Time and Date section and enter the date and timezone of your event. On this step, you can toggle other date settings such as hiding the event progress bar, whether to hide end time on the calendar, etc. For the purpose of this tutorial, the first day of this event will be 2023-11-02.

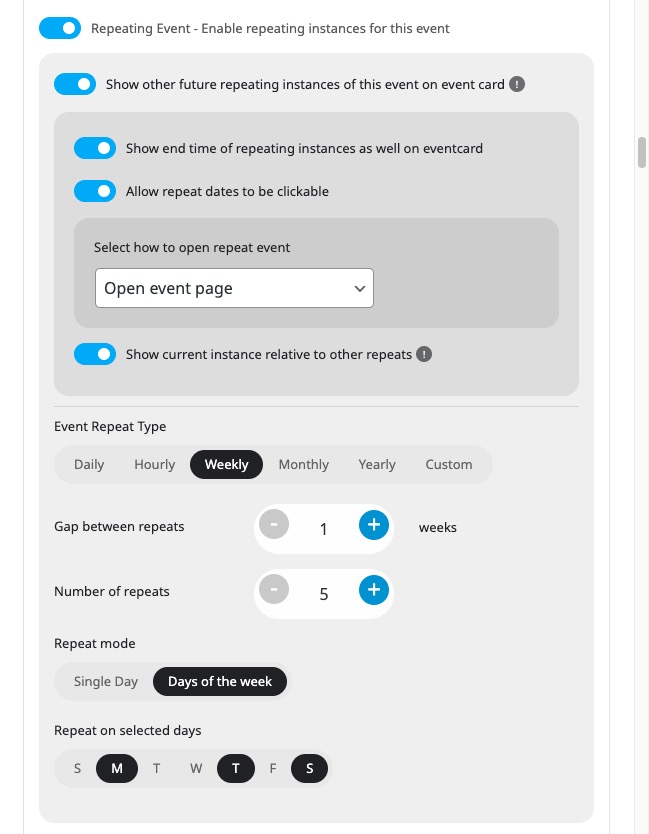
Toggle the option to enable repeating events and add the event repeat type, gap between repeats, and number of repeats.
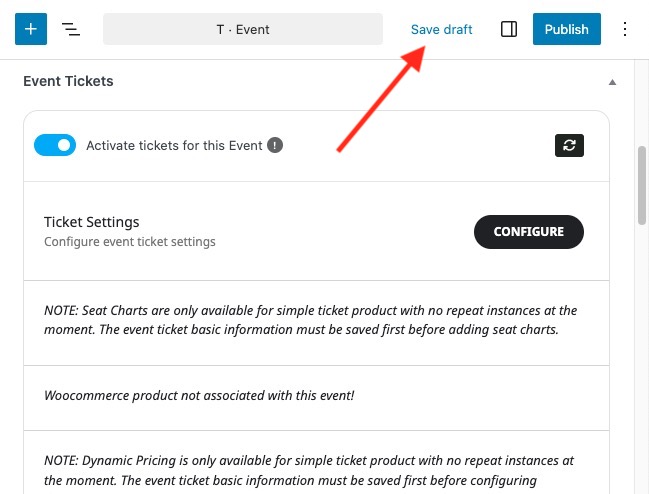
Click on Save draft at the top of the page to refresh the previously saved data for use in the next section.
Head over to the Event Schedule section and click on this button to expand the accordion section.

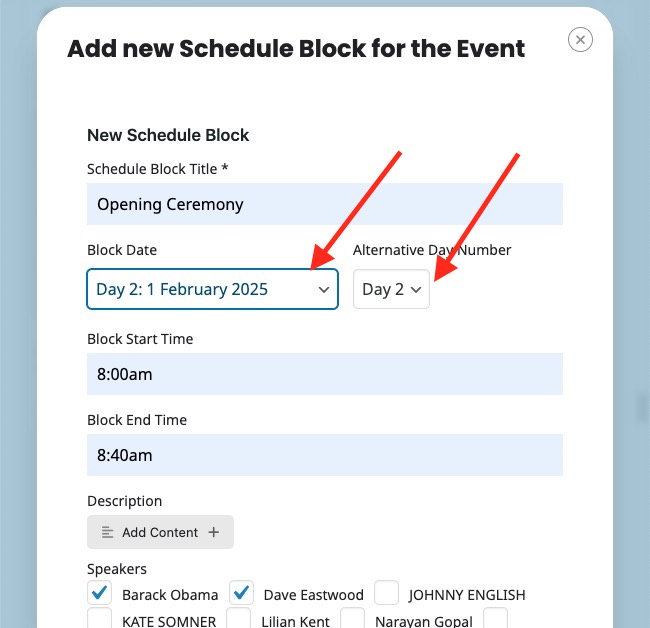
Enter the title of your first time block and select the date of your first event date from the Block date dropdown. Since our first event date was 2022-02-26, select this and also select the Alternate day number on the next dropdown field. This is optional.
Enter the block start & end time and the description of the events that will be performed during this duration.
If you have any event speakers, you can select them from the checkboxes on the next field. This is an optional step.
Click on the blue SAVE SCHEDULE BLOCK to save this block.

Repeat this step for all time blocks and activities that you’d like to incorporate for the first day of the event.
To add time blocks for the second day of your event, click to add a new time block and select Day 2: 1 February 2025 on the dropdown as shown below:
Add all the time blocks for day two using the steps above and hit save.
Repeat this step for all the days that your planned event will take.
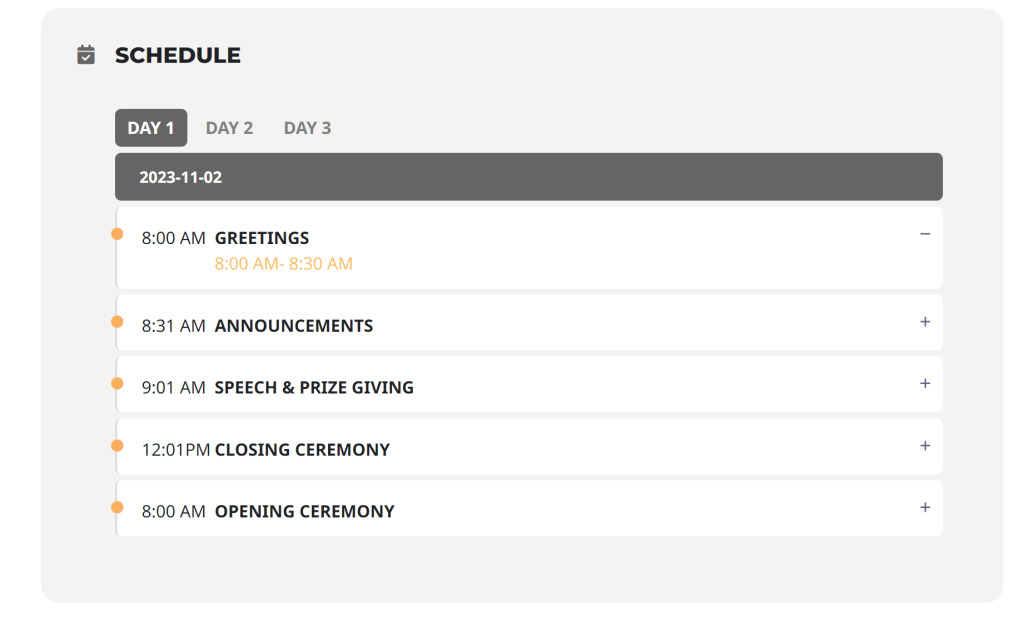
Finally, publish the event and your event schedule will look super professional on the front end.
Did this article help you?