- Get Started
- User Guide
- How to
- ** How to use event_type category to do more
- How to Activate EventON
- How To Allow Users to Submit Events and Create an Events Listing Page
- How to apply a patch fix
- How to Bulk Update Language Translations Using the Import/Export Tool
- How to cancel addon subscription before auto renew
- How to Deactivate EventON Addon Licenses
- How To Display or Hide the Live Now Icon
- How to Enable Auto-updates for EventON
- How to find your EventON license key
- How to Fix a Broken Sidebar Caused by the EventON Widget
- How To Hide Blank Rows On the Calendar EventTop
- How To Set Up and Use the Filter Bar on Calendars
- How to Set Up Health Guidelines for EventON and Extend It
- How to Setup & Use Custom Fields for Events
- How to setup & use multi data types
- How to Setup Basic Paypal for Events
- How to show past events
- How to show your calendar on external sites using an iFrame
- How To Turn on Sort Options On Your Calendar
- How To Upgrade Your EventON Addon License
- How to Use Hashtags to Link to Event Sections
- How to Use Single Event Data Values
- How to Use the EventCard Designer
- How To Use the EventON Shortcode Executor(ESE) Widget
- How To Use The EventTop Designer
- How To Use the ICS Import Tool
- How to Use Virtual Visible Event End Time for Events with Limited Visibility but Extended Durations
- Using an SMTP Mail Plugin To Solve Email Delivery Issues in EventON
- General
- Basic System Requirements for EventON
- Best Practices Before Doing an Addon Update
- How to Delete Old Events from WordPress Trash Automatically
- How To Upgrade From Lite to Full Version
- I am confused about Event Type categories
- What is the calendar filter
- Why am I unable to proceed with the checkout for addon purchases?
- Troubleshooting
- ** What to check if eventON is not working
- How to debug for PHP code errors
- How to debug Javascript interactive issues
- How to find if an issue is coming from eventON
- How to fix font awesome icons not working on your site
- How to fix style override issues
- Increasing the WordPress Memory Limit
- Troubleshooting Using the Health Check Plugin
- Why is Location Google Map grayed out or not displayed on Event Card
- Virtual Events
- Frequently Asked Questions
- Code snippets
- CODE: To add additional healthcare guidelines
- How to add new social share icons
- How to change “events” slug & rewrites
- How to customize the eventtop date format
- How to hook into eventTop
- How to increase event type category count
- How to load EventON scripts to a page
- How to show additional custom data in the eventCard
- CODEX
- Event Post Meta Variables
- Hooks: Actions & Filters
- How to Add a Custom Event Status
- How to Customizing the Upcoming Events List on Event Taxonomy Archive Pages
- How to enable Plugin Editor for WordPress
- How to get more custom event data fields
- How to Include Additional Languages
- How to use Actions and Filters
- Taxonomies of EventON
- Template Tag: add_eventon
- Other
- Tricks and Tips
- ** Override CSS in your calendar
- How to create events that goes past midnight
- How to customize Events archive page
- How to customize location and organizer archive page
- How to override event colors with event type colors
- How to show featured image on eventTop
- How to show various information on the eventTop
- How to translate EventON with WPML on the front-end
- One solution for /events slug not working
- Various Creative Ways to Use Multi Data Types
- APIs
- Addons
- Action User
- ActionUser Paid Feature Events
- ActionUser Plus
- Advent Calendar
- Bookings
- Countdown
- CSV Importer
- DailyView
- Dynamic Pricing
- Event API
- Event Dynamic Pricing
- Event Lists
- Event Map
- Event Photos
- Event Reviewer
- Event Search
- Event Seats
- Event Slider
- Event Tickets
- Auto Complete Ticket Order
- Auto re-stocking refunded, cancelled or failed orders
- Changelog for Event Tickets
- CODE: How to send Emails as Bcc
- How to add additional data to confirmation email
- How to add additional fields at checkout
- How to add additional fields to download attendees CSV file
- How to customize ticket email template
- How to manage capacity separately for repeat events
- How to set up Event Tickets
- How to set up variable prices for Tickets
- How To Switch From WooCommerce Blocks to Shortcode-Based Cart & Checkout Pages
- Event Wishlist
- Filters Plus
- FullCal
- ICS Importer
- Include Anything
- Lists & Items
- Moon Data
- PDFer
- Polls
- QR Code
- Reminders
- Repeat Customizer
- RSS Feed
- RSVP Events
- RSVP Events Invitees
- RSVP Events Waitlist
- RSVP Points
- Single Events
- Speakers & Schedule
- Subscriber
- Sync Events
- Tickets Waitlist
- Variations & Options
- Virtual Plus
- Weather
- WeeklyView
- YearlyView
- Policies
- Server Related
- Shortcode
- Translation & Languages
How To Set Up Virtual Events with Jitsi™ Meet
Last Updated: February 21, 2025
Jitsi is a video-conferencing software for web & mobile. The platform is a fully encrypted, 100% open source video conferencing solution that you can use all day, every day, for free — with no account needed.
According to the Jitsi website, the platform allows you to do the following:
- Share your desktop, presentations, and more
- Invite users to a conference via a simple, custom URL
- Edit documents together using Etherpad
- Pick fun meeting URLs for every meeting
- Trade messages and emojis while you video conference, with integrated chat.
You can now easily integrate Jitsi with your EventOn events in just a few clicks by following these steps:
1. Ensure that EventOn and Virtual Plus addon are installed and activated.
You can install and update EventOn plugin by downloading it from your Codecanyon account. You can follow our tutorial on how to install & activate Eventon.
Please follow the steps from our general guide on how to install EventOn addons to install the Virtual Plus addon.
2. Create a new Event
On your WordPress dashboard click on Events > Add Event. Please follow our general guide on how to create a new event and update your event preferences.
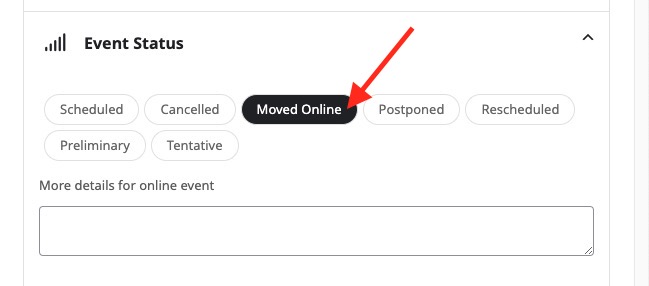
3. Change Event Status
Change the event status from the default “Scheduled” option to “Moved Online”. This will ensure that the proper schema data will be applied to your event to help search engines identify the event type.
To ensure that you don’t run into any schema errors after publishing your events, scroll down to “Location and Venue” and select a location or create a new one as shown below:
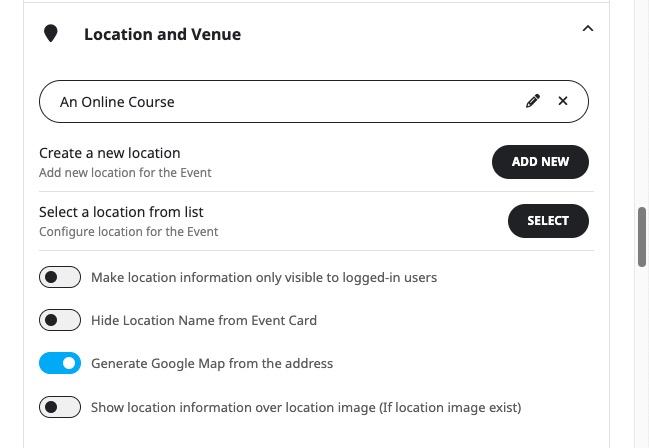
4. Enable Virtual Events
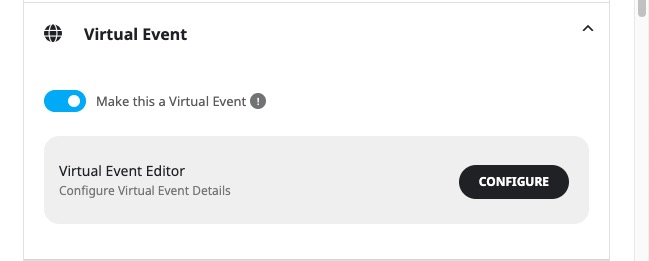
Scroll down the Virtual Event option and toggle to enable virtual events on your new event and click the CONFIGURE VIRTUAL EVENT DETAILS button.
Next, choose Jitsi as the virtual event broadcasting method as shown below:
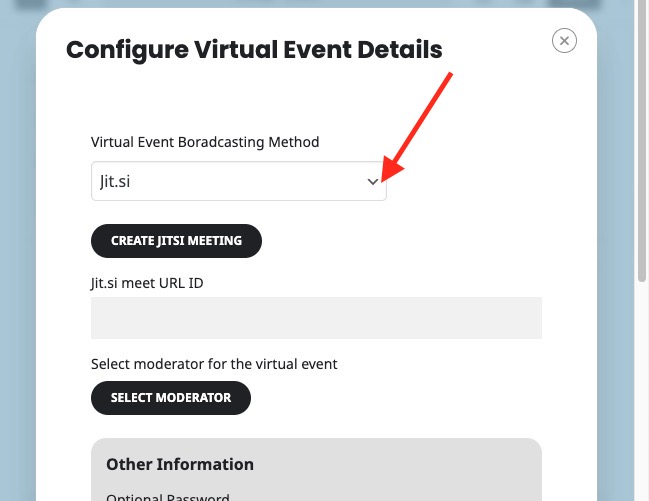
5. Click on Create Jisti Meeting button.
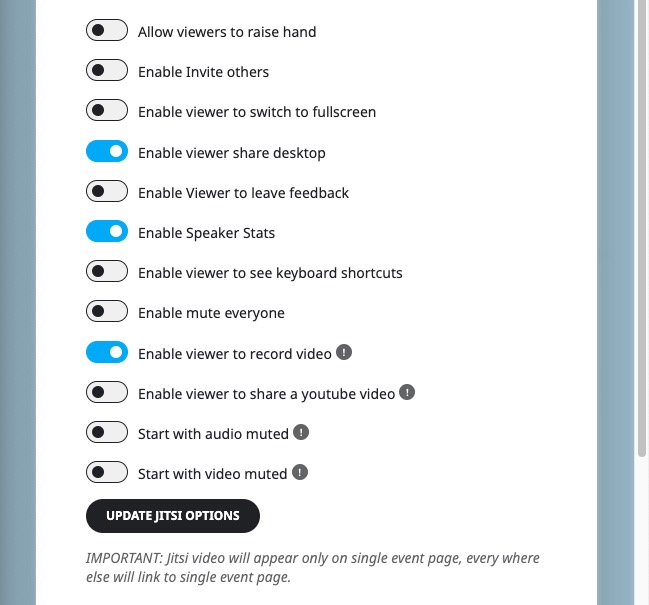
This button will automatically create the meet URL Id and also expose additional settings that you can configure for your video chat such as:
Remember to click on Update Jitsi Options after you are done making changes in this modal as shown below:
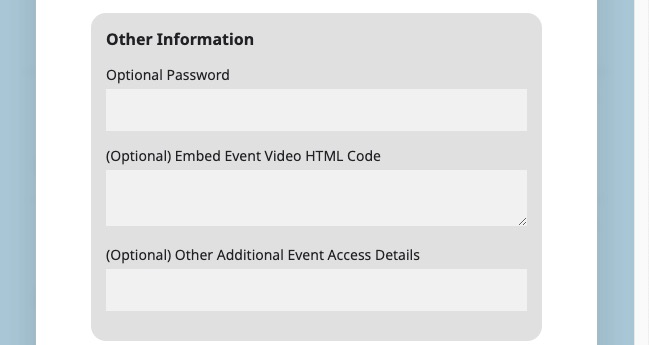
If you’d like to limit access to this event to certain event guests, you can also create a password and share it with your users on the following field:
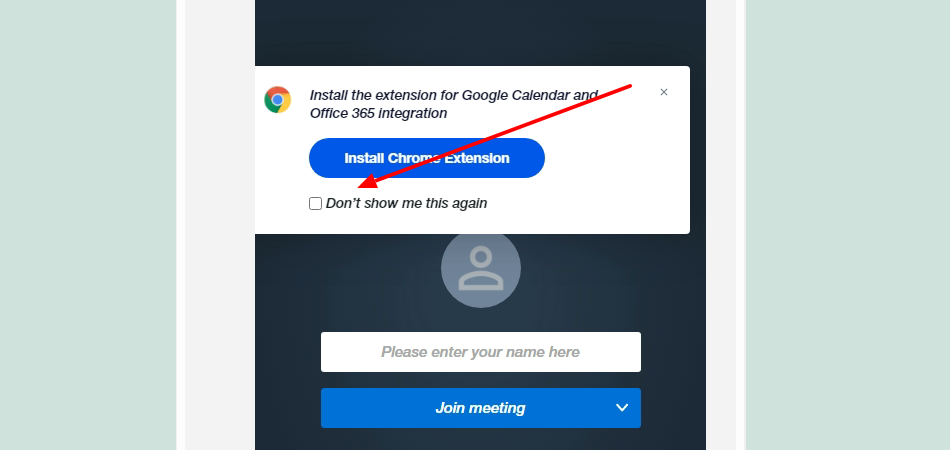
The first time visiting the event page will prompt you to install Google calendar and Office 365 integration but these are not required for Jitsi to work. You can check the “Don’t show me this again” option and close the window as shown below:
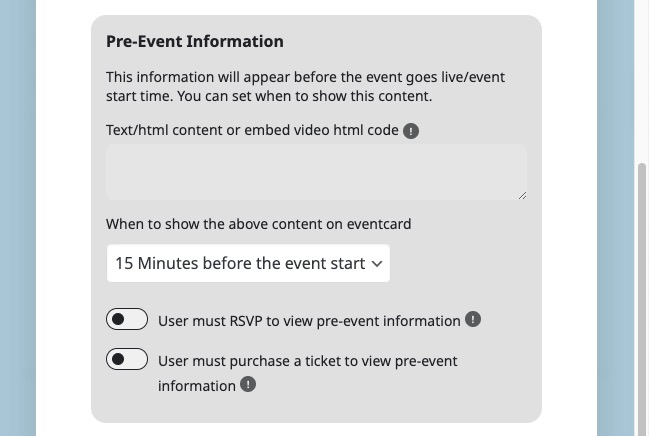
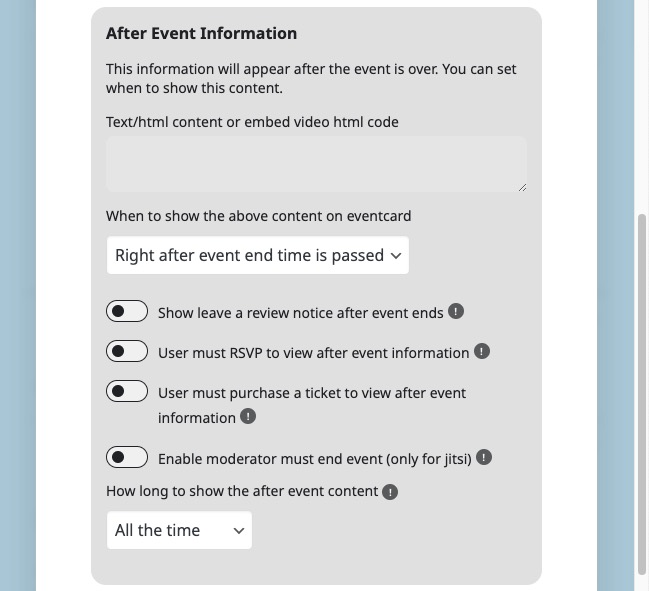
On the same event settings page, you can configure some event details that will be displayed before or after the event starts.
Did this article help you?