How to Set Up Seat Layout Map from the Admin Dashboard
Last Updated: February 21, 2025
Important! Seat Charts are not available for repeating events and variable products. You will need the Seats addon to be installed.
Step 1: Enable Seat chart for an event
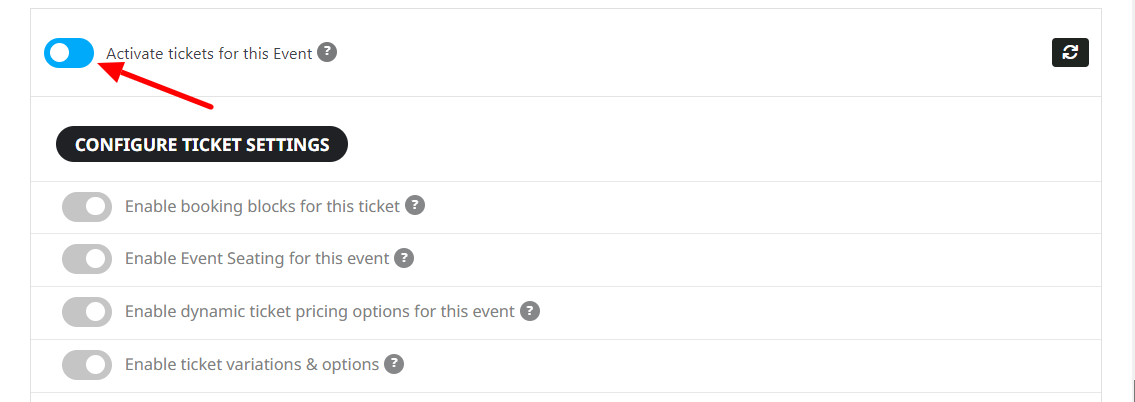
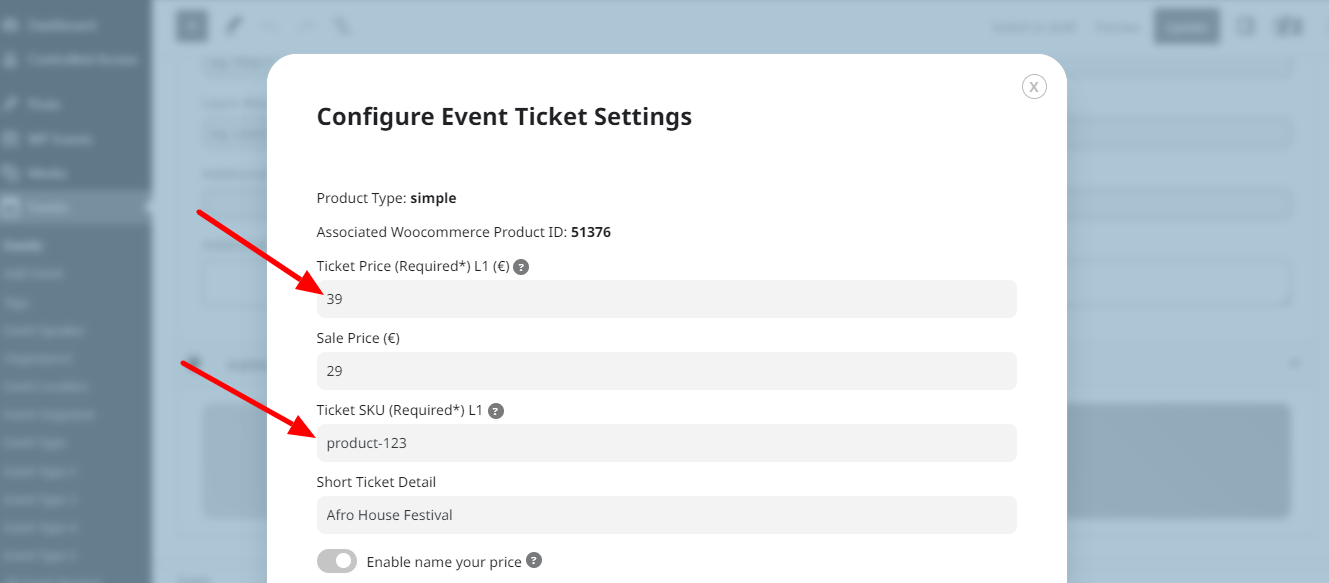
Go into Dashboard > Events and edit the event that you wish to add a seating chart to. Before you can start adding a seating chart you MUST activate the Event Tickets for your event. To activate Event Tickets, scroll about 1/2 way down the page to the “Event Tickets” section and toggle the “Yes” option to activate. Once active, fill in your ticket information such as ticket price and SKU. Lastly, save your work by clicking “Update” at the top right-hand side of the page.
Once you have saved your ticket information, go back down to the “Event Ticket” box. There you will find a seat chart activation button at the bottom. Click “Yes” to active the seating charts for this event’s ticket sales.

Step 2: Seat Map Editor
Click “Open seat map editor” and then click “Add new section”.
Definitions: A section represents a table or a section of seats at the event such as VIP-only table. One section will have multiple rows of seats. And a row can have at least 1 or more seats.
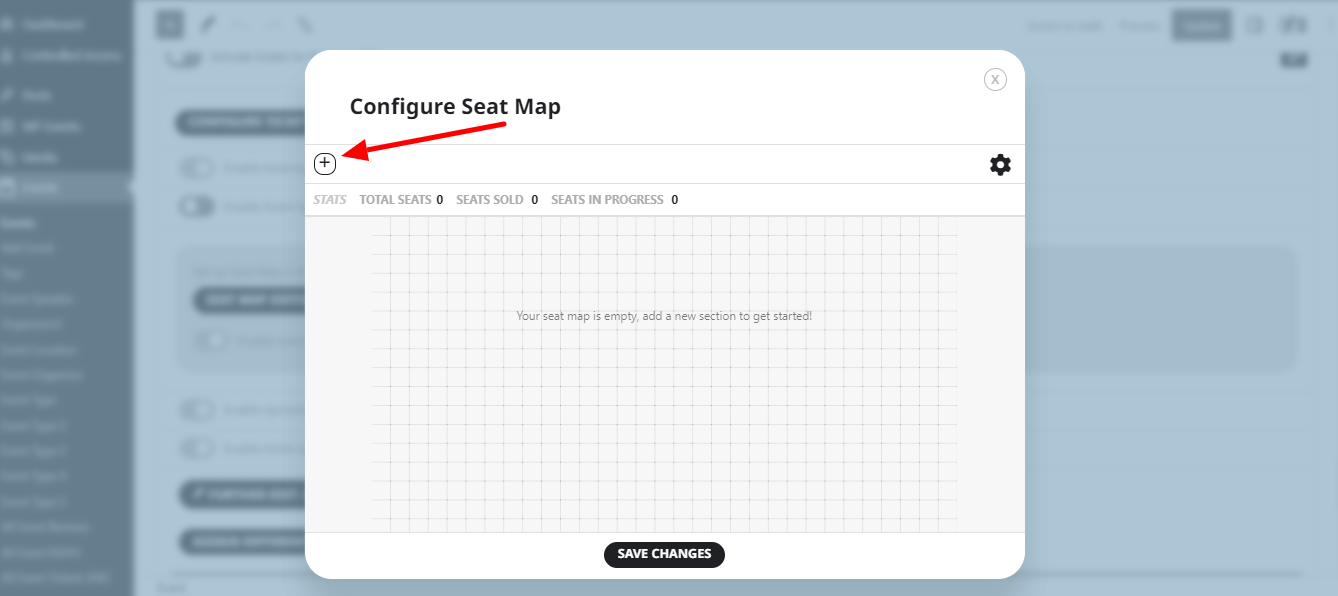
Based on the above definition, Type in a unique Section Name and create rows and seats on each row and the default price per seat on that row. (You can later edit the price for each individual seat)
Step 3: Fill in section data
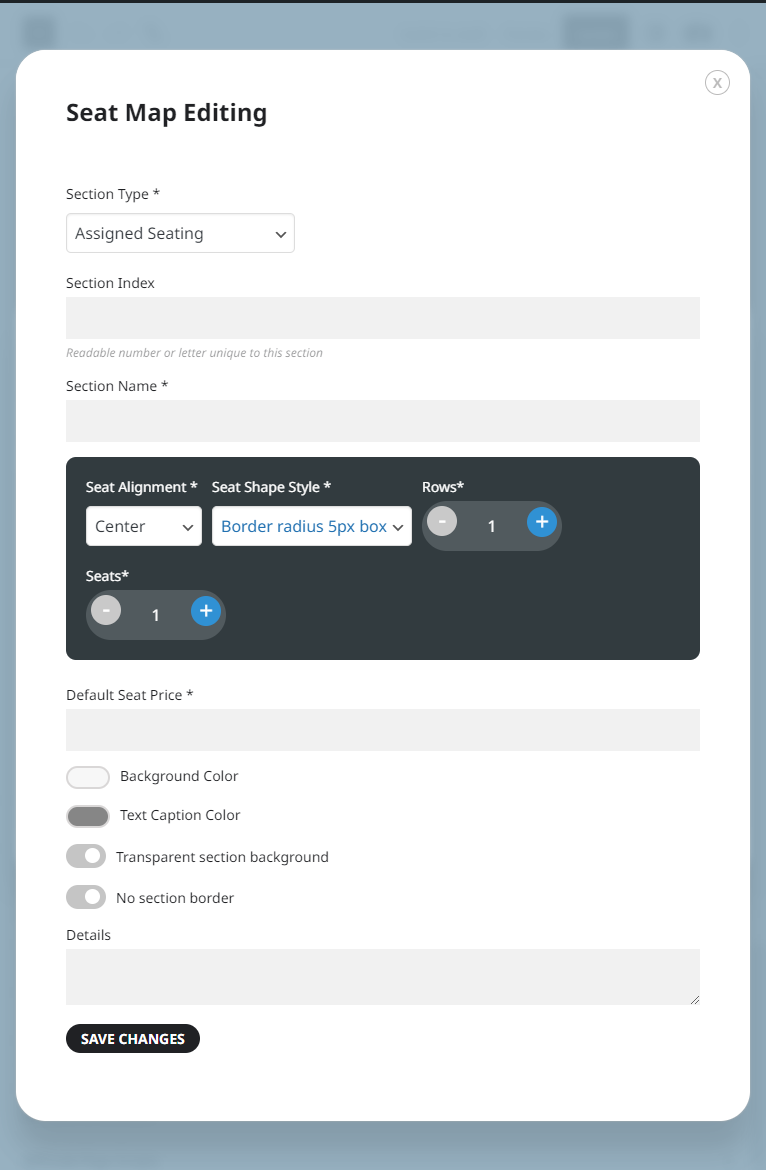
Continue to click “Add New Row” and fill in the information until you have the number of rows you need in this section. For example, you can a new VIP section area and define the number of rows and seats for this section.
At the bottom, you can also define the colors that will be used when displaying this section on the front end.
Once complete, click Save changes.
Step 4: Edit Section
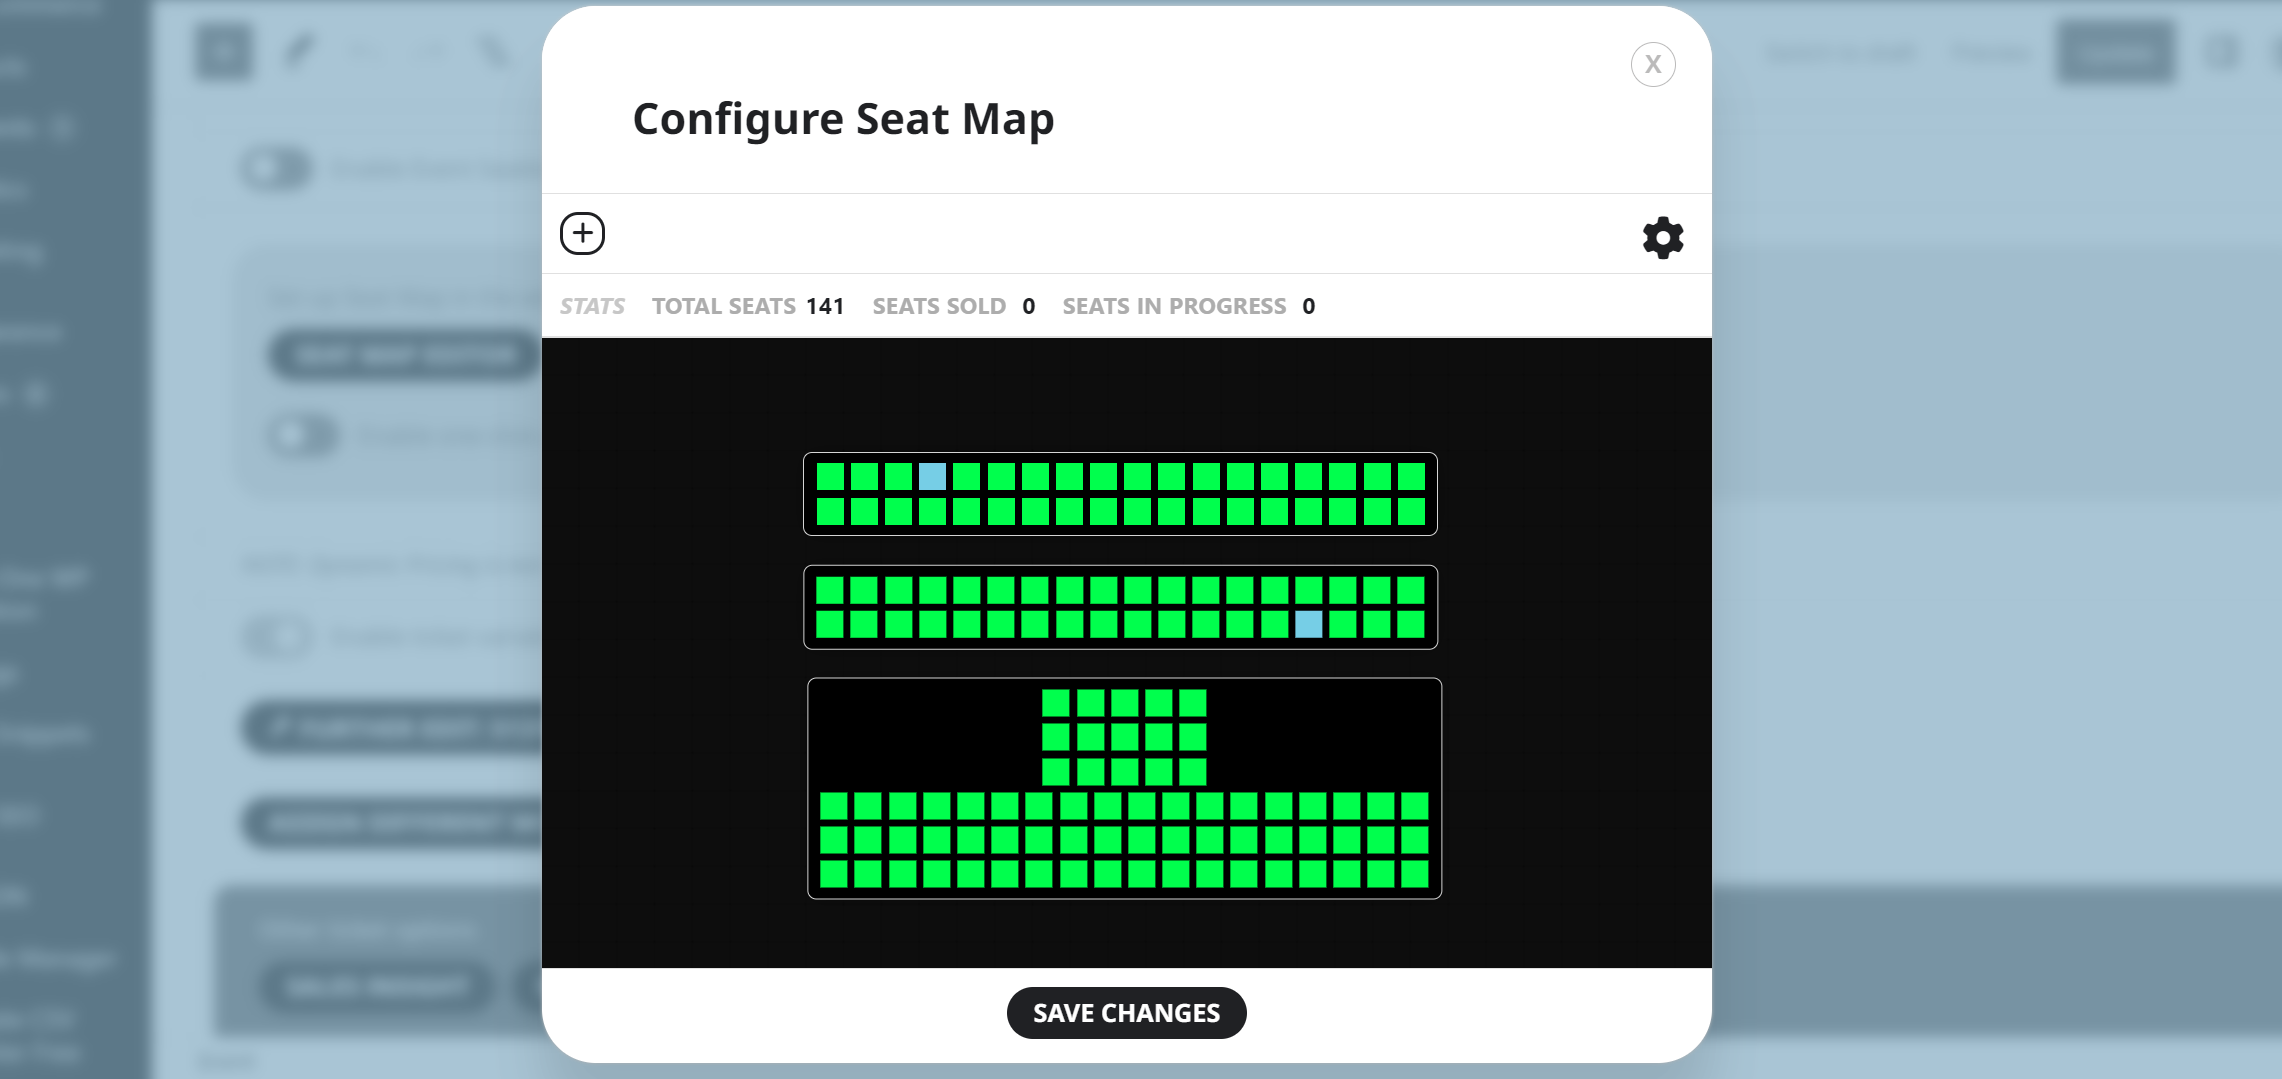
Click to select the section, you can drag and drop it to any area on the canvas to create your preferred floor layout.
The toolbar at the top of this modal window allows you to select the section, rows, and seats. It also makes it possible to edit the section, rotate, view attendees, and duplicate the section.
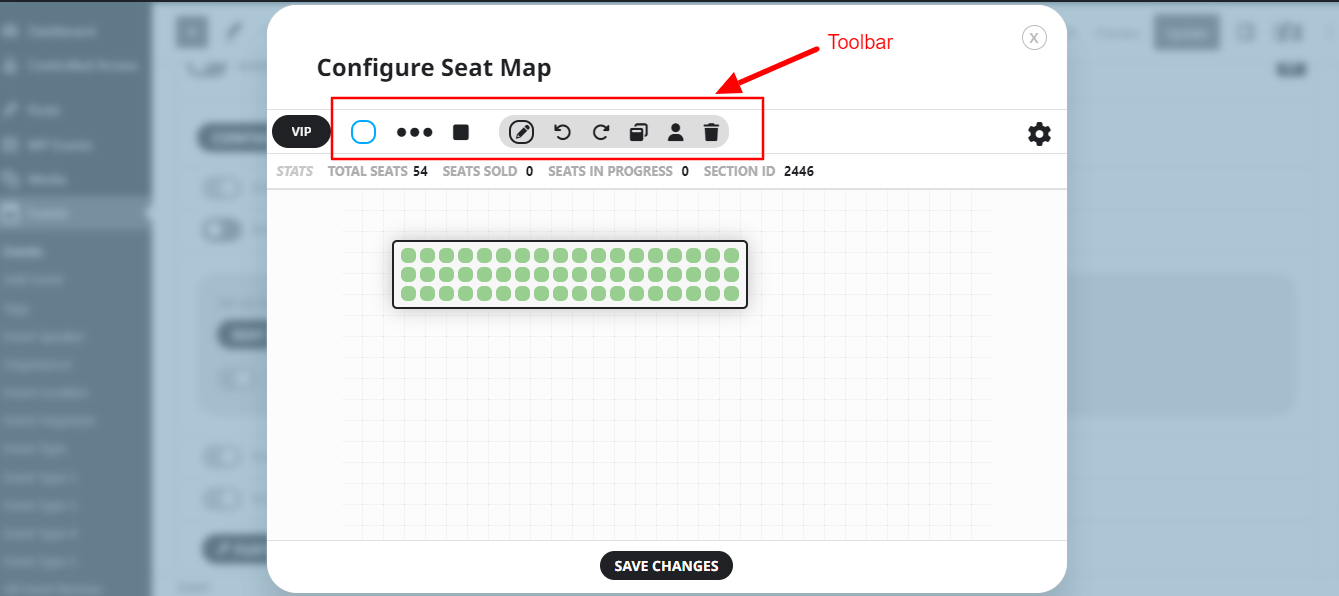
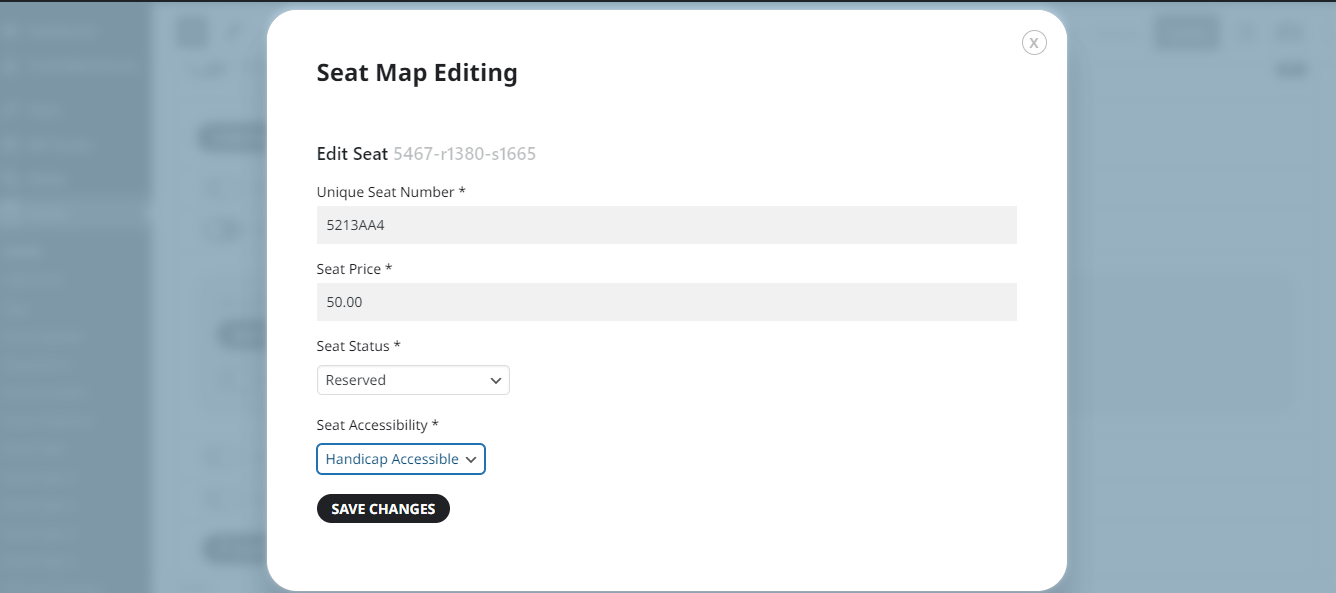
OPTIONAL: Once in edit mode, you can customize each individual seat price by clicking on the Select seats button on the toolbar and then each green seat. Fill in your seat number, price, seat status, and handicap accessible spots. When finished click “Update Seat.” Continue this process until you have customized as many seats as you need.
Step 5: Edit the entire seat map settings
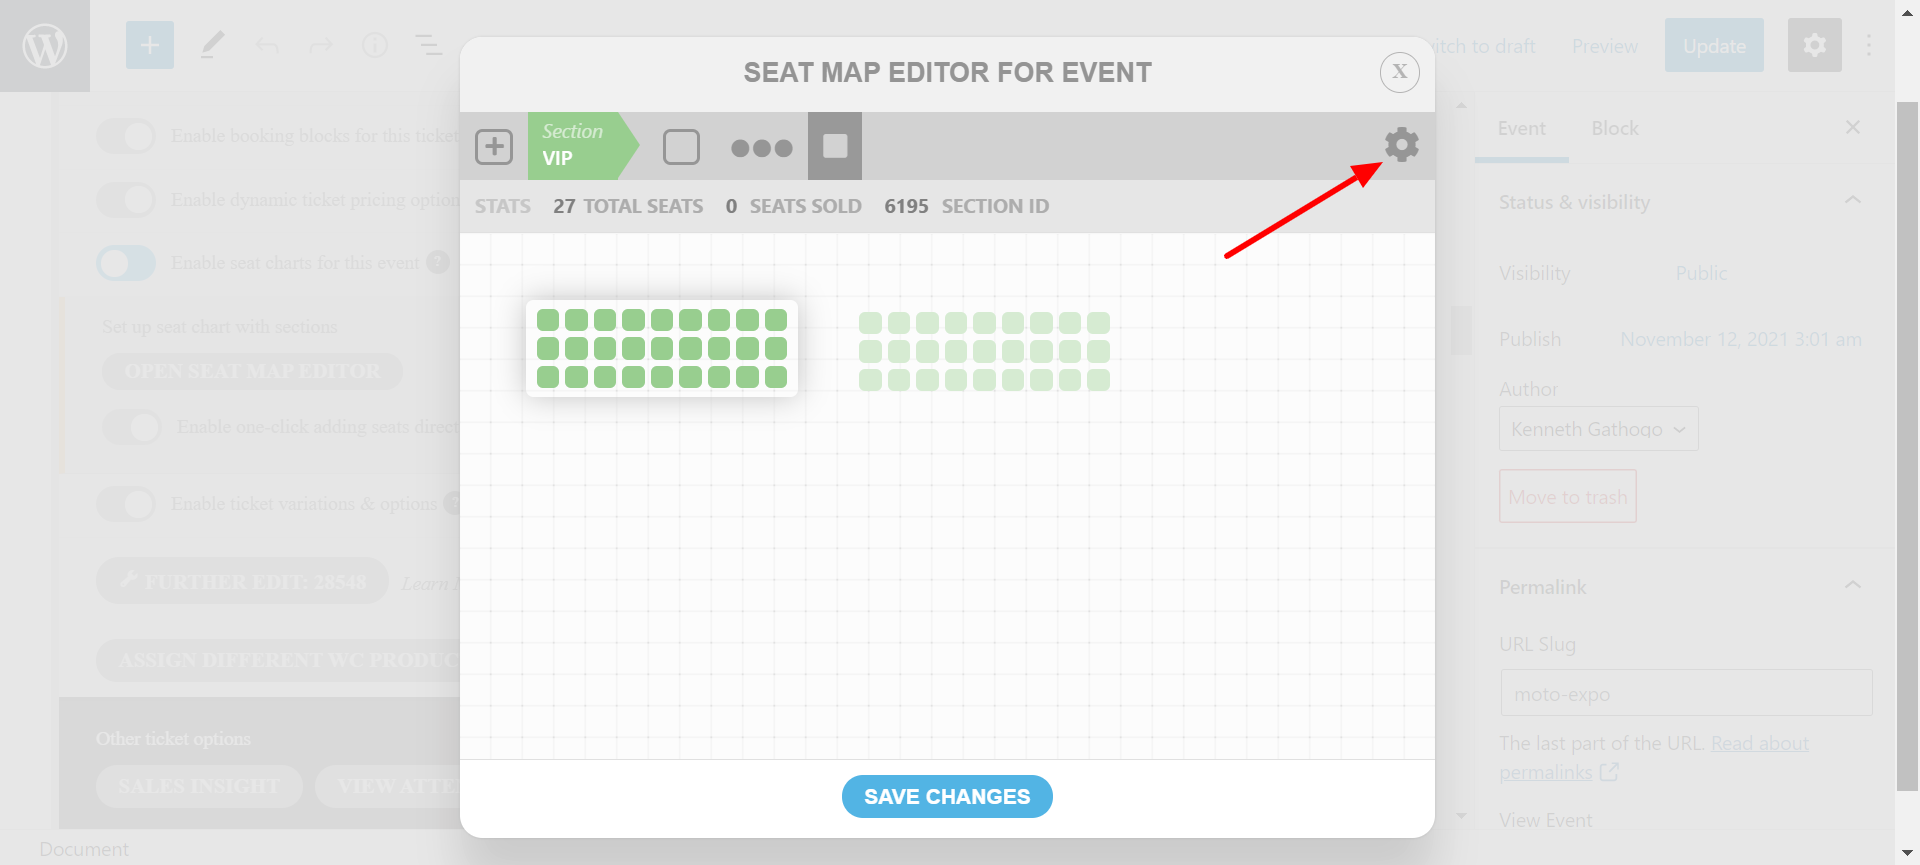
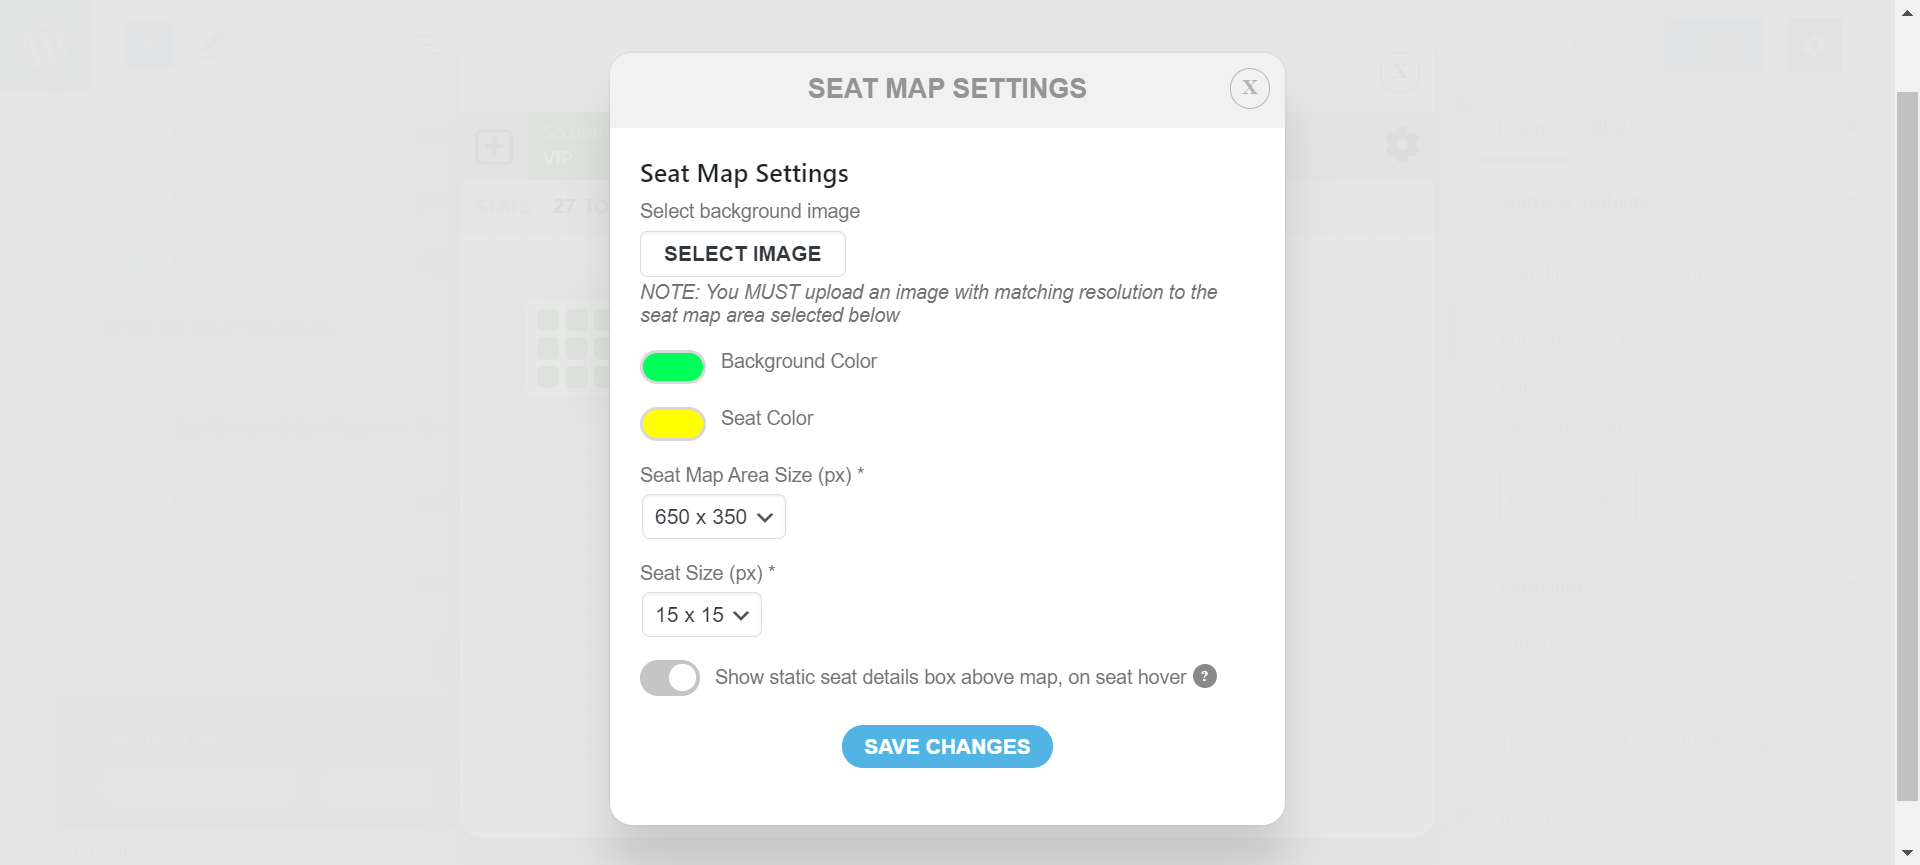
The cogwheel icon, at the top right, allows you to edit the entire seat section settings. Here you can customize things such as background image and sizes.
It is very important to remember that if you are uploading a background image the image must match the seating area map resolution (in px).
Once everything is done click “Save Changes.”
Step 6: Be creative
With the abundant customization options available, you can create a seating chart that matches perfectly with the layout of your venue. See the example below.
Creative Hint: Use the background image as a place to show where the stage, bar, etc are located for your venue. This will allow you to see the correct proportions in order to make sure your newly created seat sections will fit in the space as well as allow your customer to pick their perfect seat.
Step 7: Front end view
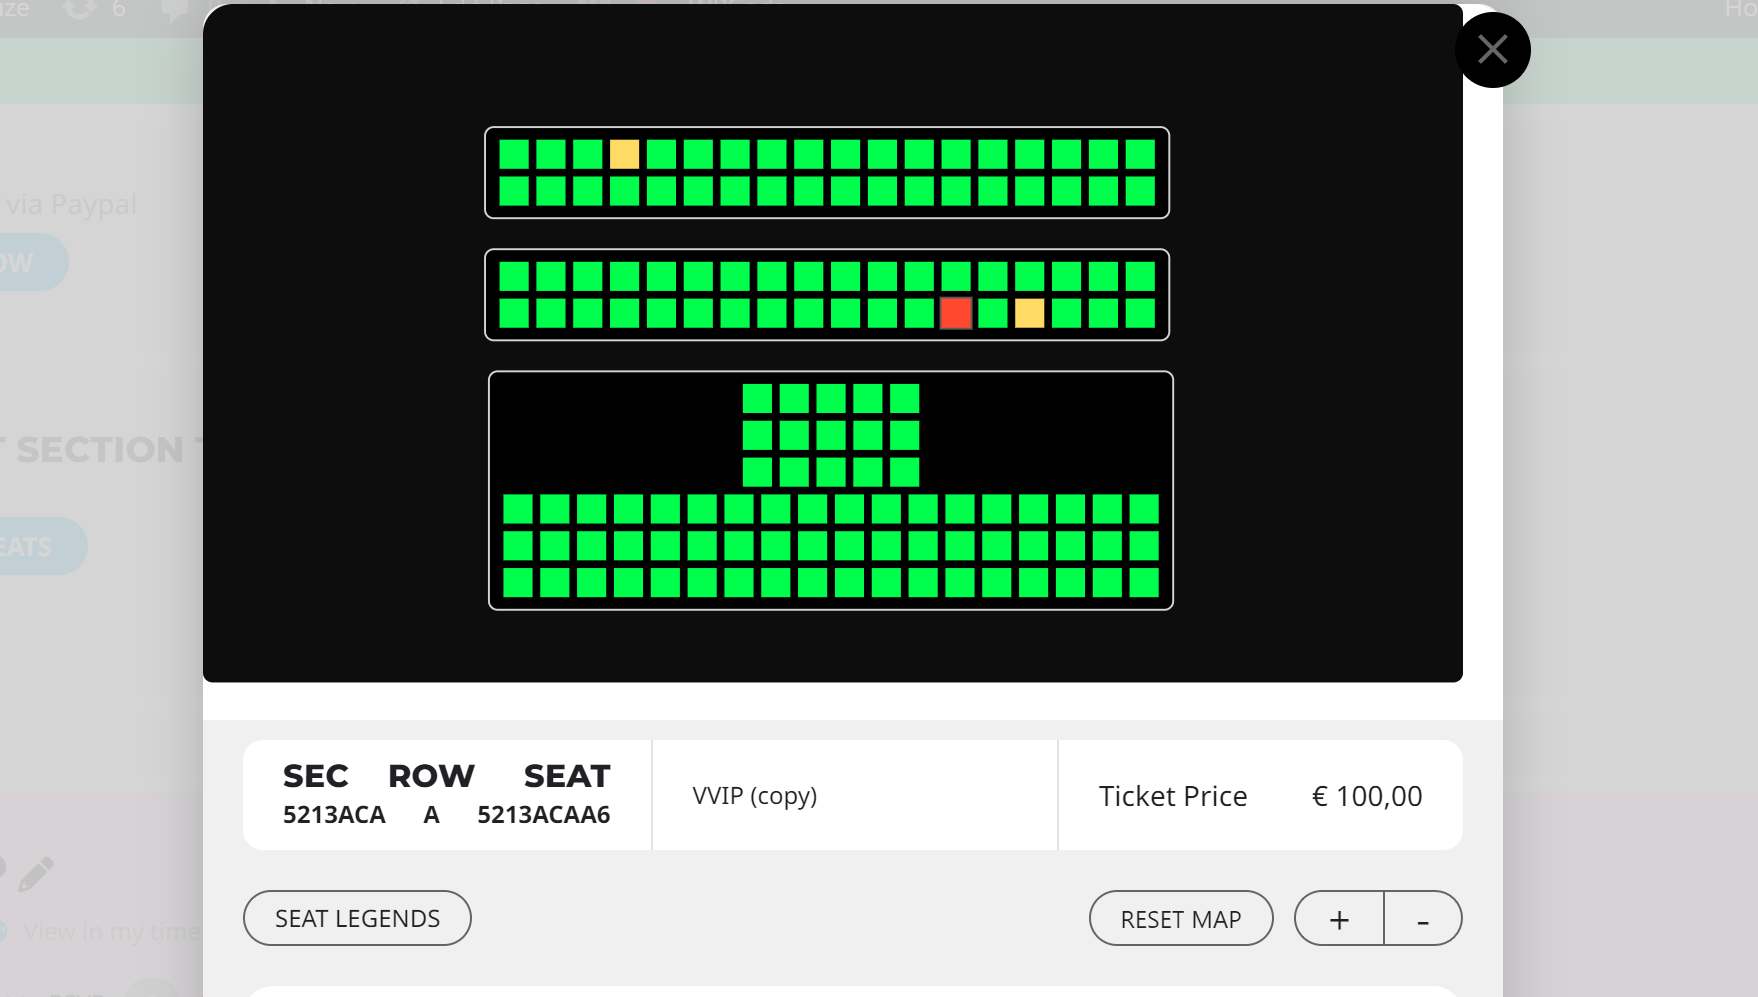
Now go to EventON > Settings > EventCard Design and enable Event Ticket Box. Go back to “Events” (top left-hand side) and click on the name of your event. Once there, click on the permalink under your events name. When this opens you should see a “Select Seats” button.
Did this article help you?