- Get Started
- User Guide
- How to
- ** How to use event_type category to do more
- How to Activate EventON
- How To Allow Users to Submit Events and Create an Events Listing Page
- How to apply a patch fix
- How to Bulk Update Language Translations Using the Import/Export Tool
- How to cancel addon subscription before auto renew
- How to Deactivate EventON Addon Licenses
- How To Display or Hide the Live Now Icon
- How to Enable Auto-updates for EventON
- How to find your EventON license key
- How to Fix a Broken Sidebar Caused by the EventON Widget
- How To Hide Blank Rows On the Calendar EventTop
- How To Set Up and Use the Filter Bar on Calendars
- How to Set Up Health Guidelines for EventON and Extend It
- How to Setup & Use Custom Fields for Events
- How to setup & use multi data types
- How to Setup Basic Paypal for Events
- How to show past events
- How to show your calendar on external sites using an iFrame
- How To Turn on Sort Options On Your Calendar
- How To Upgrade Your EventON Addon License
- How to Use Hashtags to Link to Event Sections
- How to Use Single Event Data Values
- How to Use the EventCard Designer
- How To Use the EventON Shortcode Executor(ESE) Widget
- How To Use The EventTop Designer
- How To Use the ICS Import Tool
- How to Use Virtual Visible Event End Time for Events with Limited Visibility but Extended Durations
- Using an SMTP Mail Plugin To Solve Email Delivery Issues in EventON
- General
- Basic System Requirements for EventON
- Best Practices Before Doing an Addon Update
- How to Delete Old Events from WordPress Trash Automatically
- How To Upgrade From Lite to Full Version
- I am confused about Event Type categories
- What is the calendar filter
- Why am I unable to proceed with the checkout for addon purchases?
- Troubleshooting
- ** What to check if eventON is not working
- How to debug for PHP code errors
- How to debug Javascript interactive issues
- How to find if an issue is coming from eventON
- How to fix font awesome icons not working on your site
- How to fix style override issues
- Increasing the WordPress Memory Limit
- Troubleshooting Using the Health Check Plugin
- Why is Location Google Map grayed out or not displayed on Event Card
- Virtual Events
- Frequently Asked Questions
- Code snippets
- CODE: To add additional healthcare guidelines
- How to add new social share icons
- How to change “events” slug & rewrites
- How to customize the eventtop date format
- How to hook into eventTop
- How to increase event type category count
- How to load EventON scripts to a page
- How to show additional custom data in the eventCard
- CODEX
- Other
- Tricks and Tips
- ** Override CSS in your calendar
- How to create events that goes past midnight
- How to customize Events archive page
- How to customize location and organizer archive page
- How to override event colors with event type colors
- How to show featured image on eventTop
- How to show various information on the eventTop
- How to translate EventON with WPML on the front-end
- One solution for /events slug not working
- Various Creative Ways to Use Multi Data Types
- APIs
- Addons
- Action User
- ActionUser Paid Feature Events
- ActionUser Plus
- Advent Calendar
- Bookings
- Countdown
- CSV Importer
- DailyView
- Dynamic Pricing
- Event API
- Event Dynamic Pricing
- Event Lists
- Event Map
- Event Photos
- Event Reviewer
- Event Search
- Event Seats
- Event Slider
- Event Tickets
- Auto Complete Ticket Order
- Auto re-stocking refunded, cancelled or failed orders
- Changelog for Event Tickets
- CODE: How to send Emails as Bcc
- How to add additional data to confirmation email
- How to add additional fields at checkout
- How to add additional fields to download attendees CSV file
- How to customize ticket email template
- How to manage capacity separately for repeat events
- How to set up Event Tickets
- How to set up variable prices for Tickets
- How To Switch From WooCommerce Blocks to Shortcode-Based Cart & Checkout Pages
- Event Wishlist
- Filters Plus
- FullCal
- ICS Importer
- Include Anything
- Lists & Items
- Moon Data
- PDFer
- Polls
- QR Code
- Reminders
- Repeat Customizer
- RSS Feed
- RSVP Events
- RSVP Events Invitees
- RSVP Events Waitlist
- RSVP Points
- Single Events
- Speakers & Schedule
- Subscriber
- Sync Events
- Tickets Waitlist
- Variations & Options
- Virtual Plus
- Weather
- WeeklyView
- YearlyView
- Policies
- Server Related
- Shortcode
- Translation & Languages
Overview
Last Updated: October 20, 2025
Thank you for choosing EventON! You’ve got a powerful tool to create stunning, interactive calendars for your WordPress site—whether for events, classes, or festivals. This overview is your starting point, guiding you through the basics of EventON’s interface and key features. In just a few steps, you’ll have your first calendar live, and we’ll point you to detailed guides for more customization.
What You’ll Learn:
- Navigate the EventON admin menu.
- Understand core features like events and shortcodes.
- Take your first steps to set up a calendar.
- Explore settings and find help fast.
If you’re ready to jump in, our Quick Starter Guide walks you through installation, setup, and your first calendar in 15 minutes!
Welcome to EventON
With EventON activated, you’re ready to transform your site into an event hub. This guide assumes you’ve purchased and installed the plugin (if not, see our Installation Guide). We’ll show you how to navigate the admin, create events, and display calendars, linking to our Documentation Hub for deeper dives.
Core Features
EventON’s key components make event management simple:
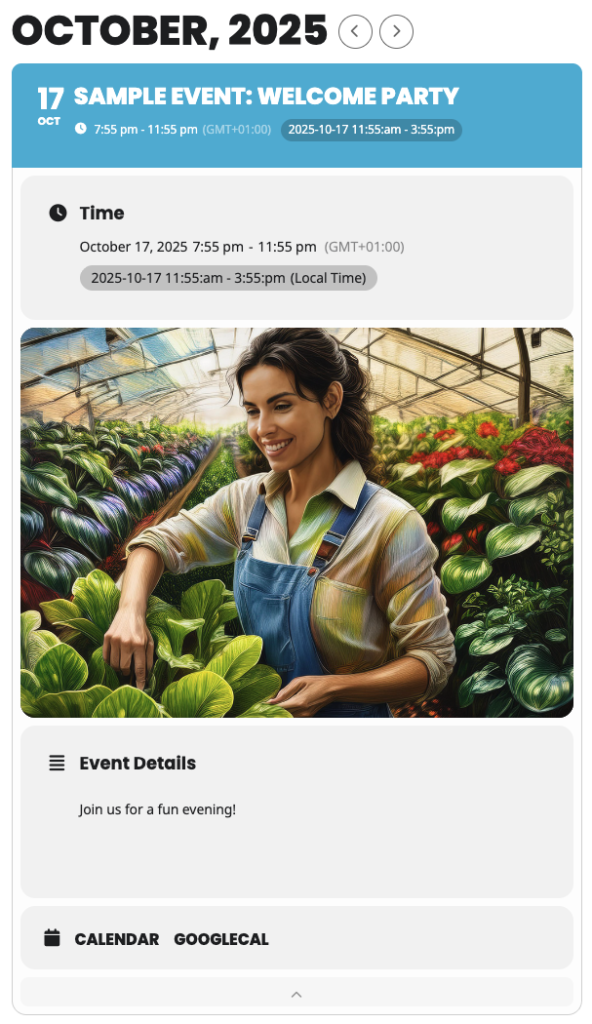
- Events: Create events with titles, dates, images, and more. Each event is a custom post type, like a blog post, with categories (“event types”) for filtering (e.g., “Conferences” or “Webinars”).
- Event Cards: Interactive displays for event details, expandable on click. Customize them in the Event Card Designer.
- Event Top: Interactive quick event info that leads to event card. Customize in Event Top Designer.
- Shortcodes: Embed calendars anywhere with codes like [add_eventon]. Use the Shortcode Generator for easy setup. See General Shortcode Guide.

Tip: Start with 2-3 test events to see how they look on your site. Need help? Check our Troubleshooting Guide.
Your First Steps
Follow this quick path to get your calendar up and running:
- Install and Activate: Ensure EventON is active with your license key entered. See Installation Guide.
- Set Up Basics: Configure time zones and calendar styles in EventON > Settings. The Quick Starter Guide covers this in detail.
- Create Your First Event: Add an event with title, dates, and optional images. Follow How to Add and Publish Events.
- Add a Calendar: Embed a calendar on any page using shortcodes. Learn how in Adding Calendar to Your Site.
Exploring Settings
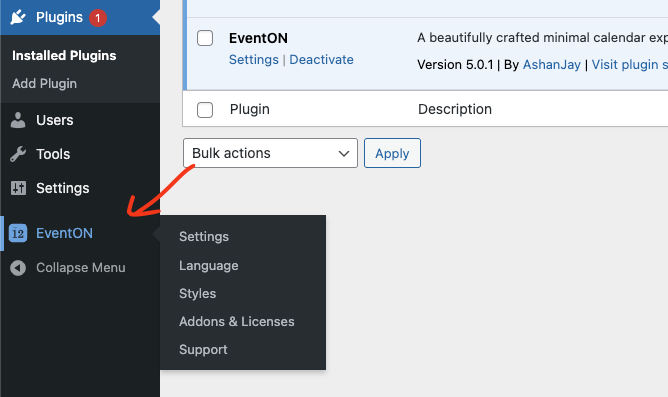
Find the EventON menu in your WordPress dashboard’s left sidebar after activation. It’s your central hub for customization.

Key Settings Tabs
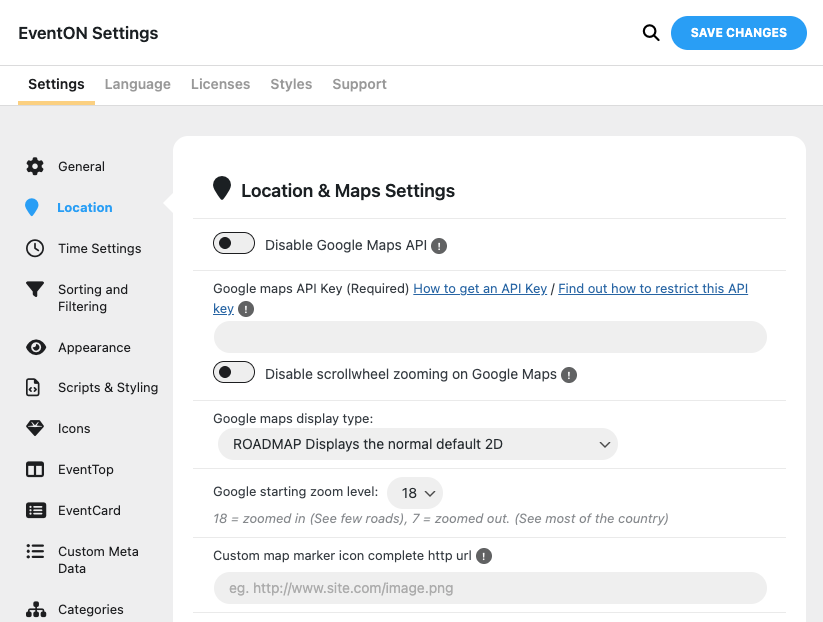
- Settings: Set core options like Location, Appearance, Event Card Designer, and event sorting. Start here to match your site’s needs.
- Language: Change calendar text (e.g., “All Day” to “Full Day”) for up to three languages—perfect for multilingual sites without complex translation files.
- Styles: Add custom CSS for visual tweaks (e.g., button colors). Beginners can skip this or explore Overriding CSS in your calendar.
- Addons & Licenses: Manage your EventON license and activate addons like Tickets or RSVP. Ensure your key is active for updates.

Pro Tip: After changing settings, save and clear any cache (e.g., WP Super Cache) to see updates. If events don’t show, check All Events Not Showing.
Next Steps and Resources
You’re ready to customize your calendar further! Try these:
- Explore Display Types: Switch to lists, Tiles, Schedule View, or Live View. See Calendar Display Types
- Add Repeating Events: Set up recurring events in Setting Up Repeating Events.
- FAQs: Add Question and answer style event information. See Setting & Using FAQs
- Enhance with Addons: Add features like Tickets or RSVPs and explore Our Addons.
Quick Tips:
- Test on Mobile: Check your calendar’s look on phones.
- Optimize Speed: Use small images (800x600px) and caching plugins.
- Stay Updated: Keep EventON and addons current for new features.
Need help? Submit a support ticket or explore our Documentations. Happy event planning with EventON!
Did this article help you?