- Get Started
- User Guide
- How to
- ** How to use event_type category to do more
- How to Activate EventON
- How To Allow Users to Submit Events and Create an Events Listing Page
- How to apply a patch fix
- How to Bulk Update Language Translations Using the Import/Export Tool
- How to cancel addon subscription before auto renew
- How to Deactivate EventON Addon Licenses
- How To Display or Hide the Live Now Icon
- How to Enable Auto-updates for EventON
- How to find your EventON license key
- How to Fix a Broken Sidebar Caused by the EventON Widget
- How To Hide Blank Rows On the Calendar EventTop
- How To Set Up and Use the Filter Bar on Calendars
- How to Set Up Health Guidelines for EventON and Extend It
- How to Setup & Use Custom Fields for Events
- How to setup & use multi data types
- How to Setup Basic Paypal for Events
- How to show past events
- How to show your calendar on external sites using an iFrame
- How To Turn on Sort Options On Your Calendar
- How To Upgrade Your EventON Addon License
- How to Use Hashtags to Link to Event Sections
- How to Use Single Event Data Values
- How to Use the EventCard Designer
- How To Use the EventON Shortcode Executor(ESE) Widget
- How To Use The EventTop Designer
- How To Use the ICS Import Tool
- How to Use Virtual Visible Event End Time for Events with Limited Visibility but Extended Durations
- Using an SMTP Mail Plugin To Solve Email Delivery Issues in EventON
- General
- Basic System Requirements for EventON
- Best Practices Before Doing an Addon Update
- How to Delete Old Events from WordPress Trash Automatically
- How To Upgrade From Lite to Full Version
- I am confused about Event Type categories
- What is the calendar filter
- Why am I unable to proceed with the checkout for addon purchases?
- Troubleshooting
- ** What to check if eventON is not working
- How to debug for PHP code errors
- How to debug Javascript interactive issues
- How to find if an issue is coming from eventON
- How to fix font awesome icons not working on your site
- How to fix style override issues
- Increasing the WordPress Memory Limit
- Troubleshooting Using the Health Check Plugin
- Why is Location Google Map grayed out or not displayed on Event Card
- Virtual Events
- Frequently Asked Questions
- Code snippets
- CODE: To add additional healthcare guidelines
- How to add new social share icons
- How to change “events” slug & rewrites
- How to customize the eventtop date format
- How to hook into eventTop
- How to increase event type category count
- How to load EventON scripts to a page
- How to show additional custom data in the eventCard
- CODEX
- Other
- Tricks and Tips
- ** Override CSS in your calendar
- How to create events that goes past midnight
- How to customize Events archive page
- How to customize location and organizer archive page
- How to override event colors with event type colors
- How to show featured image on eventTop
- How to show various information on the eventTop
- How to translate EventON with WPML on the front-end
- One solution for /events slug not working
- Various Creative Ways to Use Multi Data Types
- APIs
- Addons
- Action User
- ActionUser Paid Feature Events
- ActionUser Plus
- Advent Calendar
- Bookings
- Countdown
- CSV Importer
- DailyView
- Dynamic Pricing
- Event API
- Event Dynamic Pricing
- Event Lists
- Event Map
- Event Photos
- Event Reviewer
- Event Search
- Event Seats
- Event Slider
- Event Tickets
- Auto Complete Ticket Order
- Auto re-stocking refunded, cancelled or failed orders
- Changelog for Event Tickets
- CODE: How to send Emails as Bcc
- How to add additional data to confirmation email
- How to add additional fields at checkout
- How to add additional fields to download attendees CSV file
- How to customize ticket email template
- How to manage capacity separately for repeat events
- How to set up Event Tickets
- How to set up variable prices for Tickets
- How To Switch From WooCommerce Blocks to Shortcode-Based Cart & Checkout Pages
- Event Wishlist
- Filters Plus
- FullCal
- ICS Importer
- Include Anything
- Lists & Items
- Moon Data
- PDFer
- Polls
- QR Code
- Reminders
- Repeat Customizer
- RSS Feed
- RSVP Events
- RSVP Events Invitees
- RSVP Events Waitlist
- RSVP Points
- Single Events
- Speakers & Schedule
- Subscriber
- Sync Events
- Tickets Waitlist
- Variations & Options
- Virtual Plus
- Weather
- WeeklyView
- YearlyView
- Policies
- Server Related
- Shortcode
- Translation & Languages
How To Use The EventTop Designer
Last Updated: February 19, 2025
The EventTop section represents the topmost section on the event display layout. Before version 4.1, you were required to make code changes to customize this area. This is documented in this tutorial How to hook into eventTop.
The process of customizing the EventTop is now streamlined since the introduction of the designer. The built-in layout designer works the same as the Eventcard designer.
To access the designer, please log in to your WordPress admin dashboard and head over to EventON > Settings > EventTop > EventTop Settings as shown below:
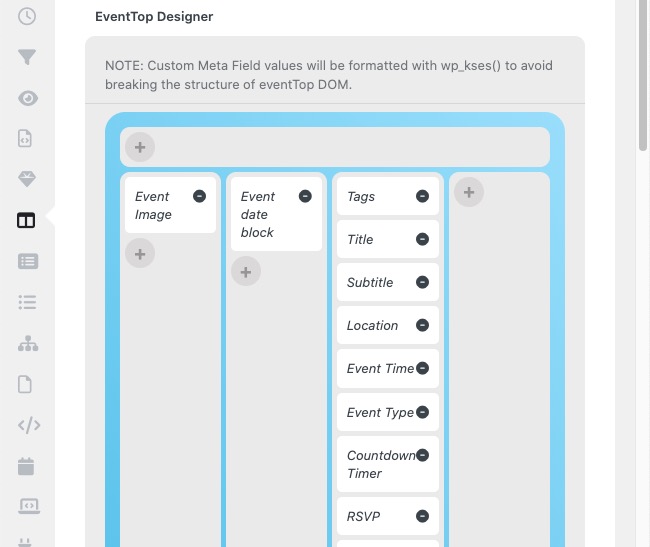
The designer is currently divided into two sections. The first section is a full-width container that can hold multiple fields. The second section is sub-divided into four rows that can hold multiple fields independently.
NOTE: Most of these fields will not be available in the tile layout, however all the fields added in the designer will be visible on the row layout. This is to provide better usability and visibility when interacting with the calendar on the front end of your site.
To add a new field in these sections, click on the grey rounded + button shown below:
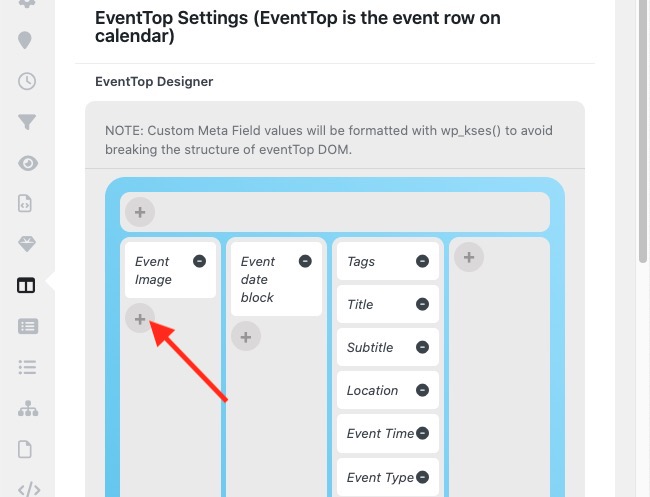
Once this button is clicked, you can add a new field by clicking on one of the options available on the Unused Event Top Fields panel on the editor, as shown below:

To remove an item from the section, click on the black rounded – button shown below:
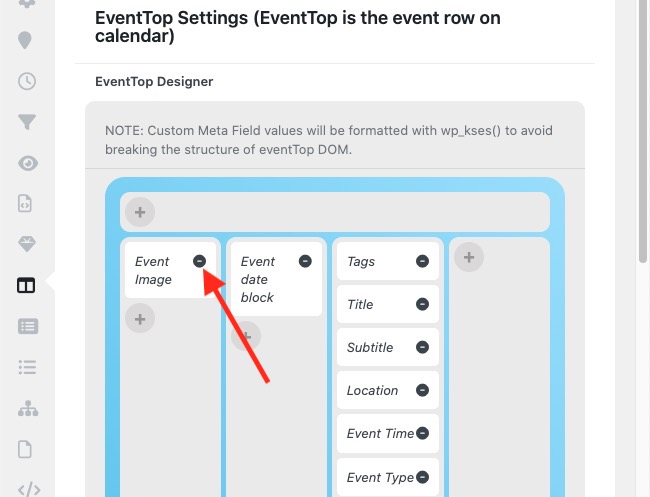
From the same page, you can also customize how the dates will be displayed. You can enable any of these values:
- Event Day Name
- Event Start Year
- Event End Year (If different than start year)
For the location field on the EventTop, you can display either the location name and address or one of the two.
You can also toggle to enable the following on the EventTop:
- Show event custom meta data icons on eventtop
- Show edit event button for each event
- Hide live event progress bar with time remaining
- Hide blinking “Live Now” icon from event top for current events
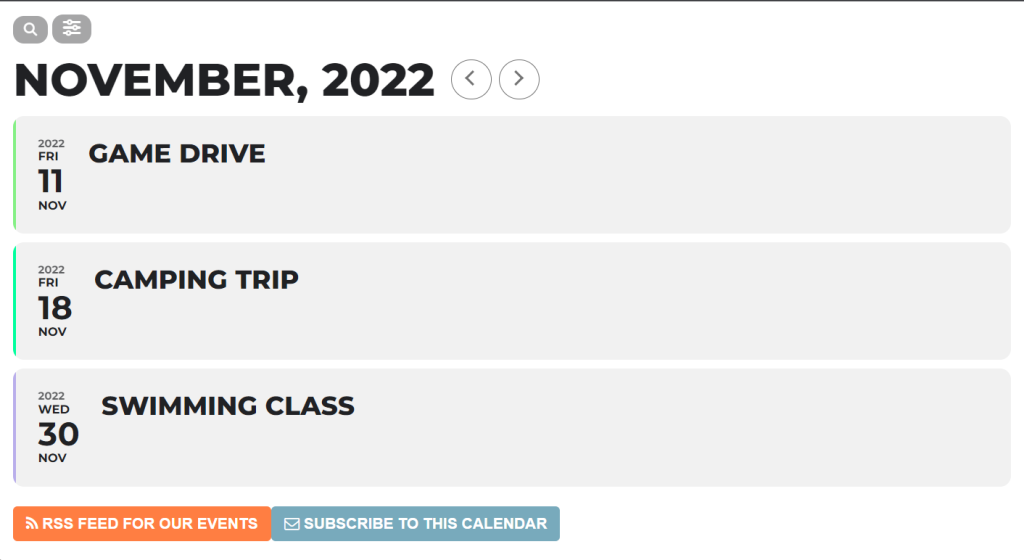
You can also set the following default EventTop styles. This setting can be overridden within the event shortcode.
Colorful with gap between events
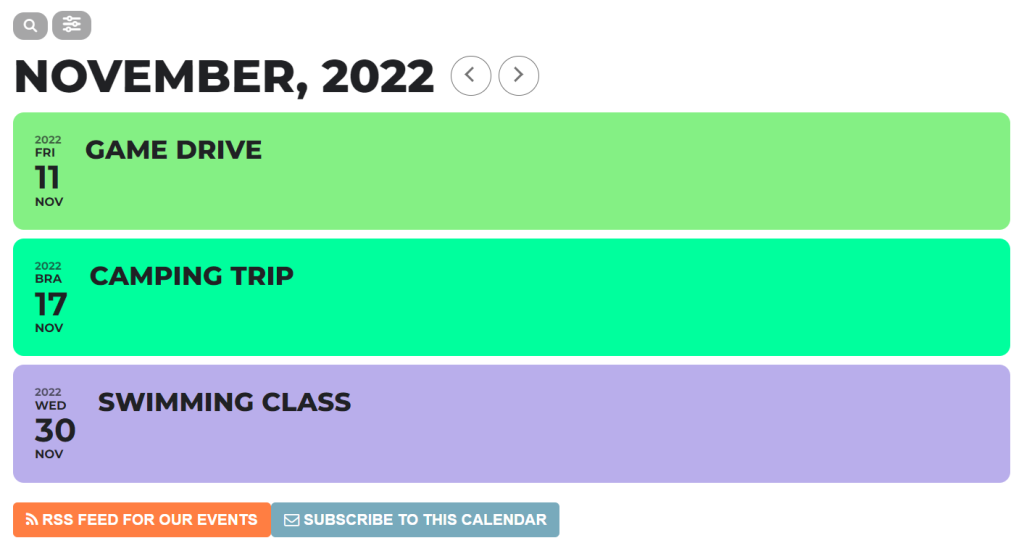
Colorful EventTop
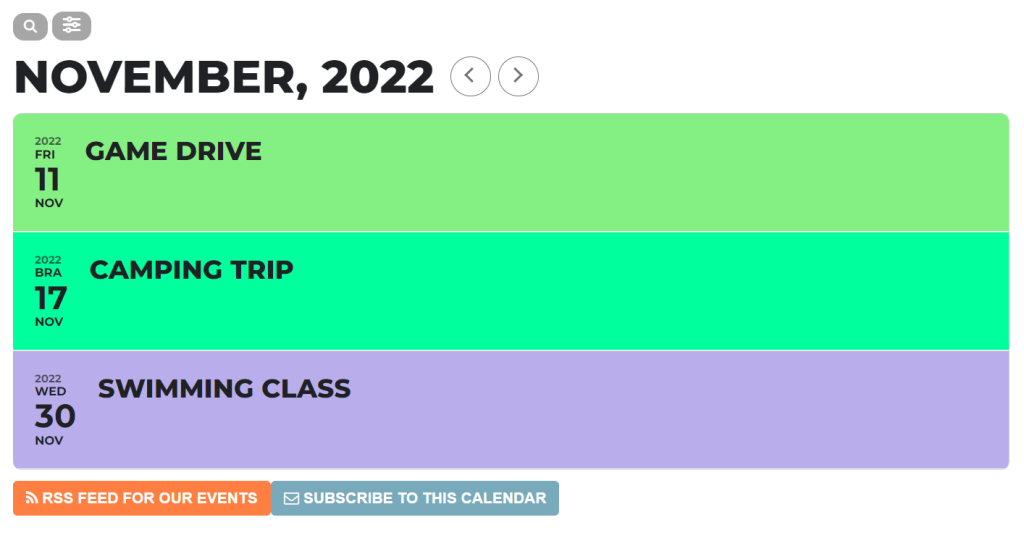
Colorful EventTop bubbles

Clear with left border colors
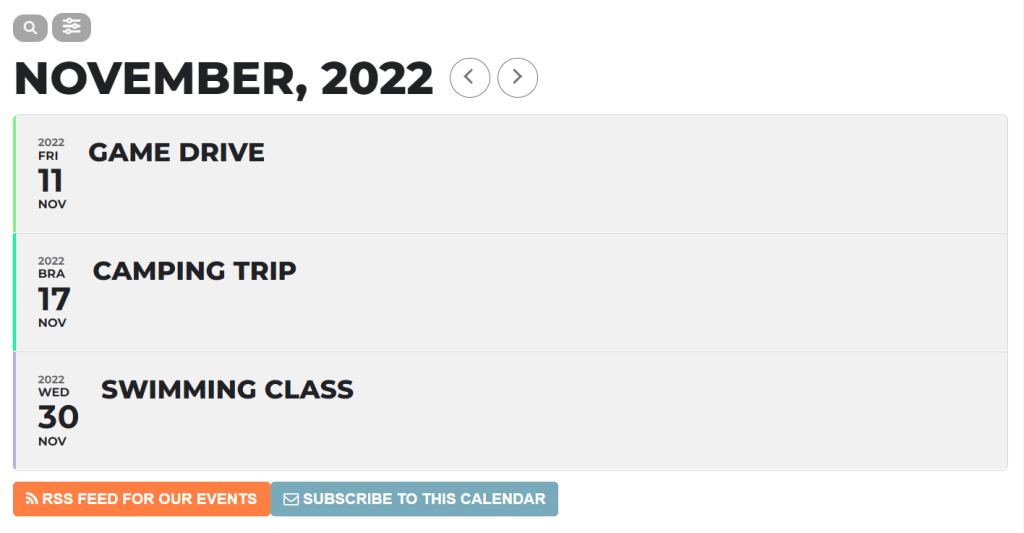
Clear with left border colors and gaps
Did this article help you?
- How to
- ** How to use event_type category to do more
- How to Activate EventON
- How To Allow Users to Submit Events and Create an Events Listing Page
- How to apply a patch fix
- How to Bulk Update Language Translations Using the Import/Export Tool
- How to cancel addon subscription before auto renew
- How to Deactivate EventON Addon Licenses
- How To Display or Hide the Live Now Icon
- How to Enable Auto-updates for EventON
- How to find your EventON license key
- How to Fix a Broken Sidebar Caused by the EventON Widget
- How To Hide Blank Rows On the Calendar EventTop
- How To Set Up and Use the Filter Bar on Calendars
- How to Set Up Health Guidelines for EventON and Extend It
- How to Setup & Use Custom Fields for Events
- How to setup & use multi data types
- How to Setup Basic Paypal for Events
- How to show past events
- How to show your calendar on external sites using an iFrame
- How To Turn on Sort Options On Your Calendar
- How To Upgrade Your EventON Addon License
- How to Use Hashtags to Link to Event Sections
- How to Use Single Event Data Values
- How to Use the EventCard Designer
- How To Use the EventON Shortcode Executor(ESE) Widget
- How To Use The EventTop Designer
- How To Use the ICS Import Tool
- How to Use Virtual Visible Event End Time for Events with Limited Visibility but Extended Durations
- Using an SMTP Mail Plugin To Solve Email Delivery Issues in EventON